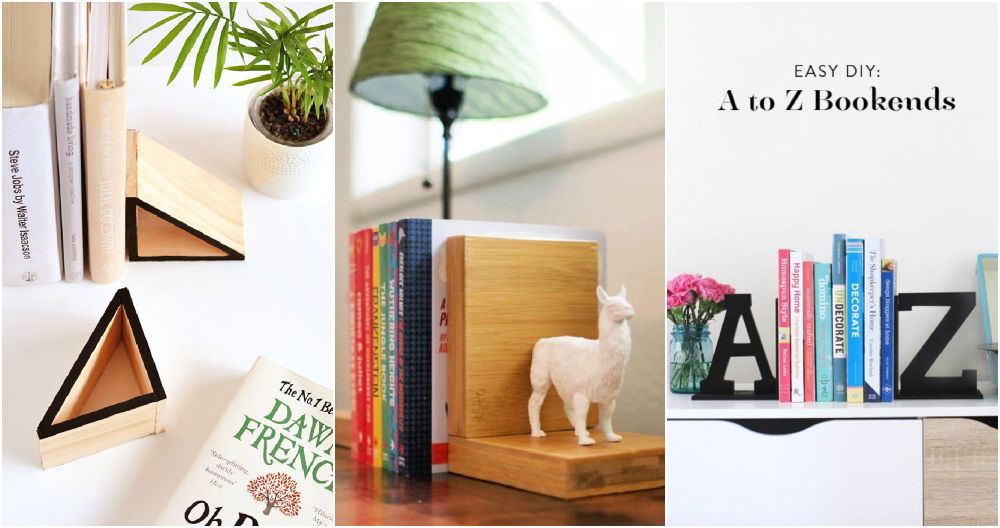

Introduction:
Looking to add a touch of personality and functionality to your bookshelf? Creating your own wooden bookends is a fun and rewarding project that allows you to showcase your creativity and style. This guide will walk you through the process, from material selection to customization, so you can craft beautiful and unique bookends that reflect your personal taste.
Materials:
Wood: Choose a type of wood that suits your style and project. Popular options include:
Hardwoods: Oak, maple, walnut (for durability and rich grain patterns)
Softwoods: Pine, cedar, birch (for ease of carving and affordability)
Reclaimed wood: Adds character and sustainability
Wood glue: For securing pieces together
Wood filler: For patching imperfections
Sandpaper: Various grits for smoothing and finishing
Wood stain or paint: To color and protect your bookends
Polyurethane or varnish: For a durable finish
Optional:
Hardware: Screws, hinges, or decorative accents
Cutting tools: Saw, drill, chisel
Measuring tape: For accurate dimensions
Pencil: For marking
Templates: For intricate designs
Steps:
1. Design and Planning:
Sketch or draw: Begin by visualizing the design of your bookends. Consider the size, shape, and style you want to achieve.
Determine dimensions: Measure the width and height of your books to ensure the bookends will be the appropriate size.
Choose a theme: Explore different themes like nature, animals, geometric shapes, or abstract designs.
Consider the wood: Select a wood type that complements your design and aesthetic.
2. Cutting and Shaping:
Cut the wood: Using a saw or jigsaw, cut the wood according to your planned dimensions. Remember to create two identical pieces for the bookends.
Shape the base: If desired, shape the bottom of each piece into a slightly wider base for stability.
Create the design: Use tools like chisels, wood carving tools, or a drill to sculpt your desired shape or design.
3. Assembly and Finishing:
Glue and secure: If your design involves multiple pieces, use wood glue to join them together. Ensure a strong bond by clamping the pieces together until the glue dries.
Sanding: Use sandpaper to smooth out any rough edges and create a consistent surface for the finish. Start with coarse grit and gradually progress to finer grits.
Filling imperfections: Use wood filler to patch any holes or imperfections in the wood. Allow the filler to dry completely before sanding again.
Finishing touches: Apply wood stain or paint according to your desired color scheme. Let the stain or paint dry completely before applying a protective coating.
4. Customization and Personalization:
Add unique elements: Incorporate personal touches like engraved initials, family crests, or a favorite quote.
Use decorative hardware: Attach screws, hinges, or other hardware to enhance the design and functionality.
Incorporate found objects: Use natural elements like stones, shells, or driftwood to create a unique and organic look.
5. Enjoy your Bookends:
Display with pride: Place your handcrafted bookends on your bookshelf to showcase your creativity and add a personal touch to your space.
Share your passion: Consider sharing your bookends as a unique gift for friends and family.
Safety Precautions:
Always wear safety glasses and dust masks when working with wood and tools.
Use caution when operating power tools and follow safety instructions.
Keep work areas clean and organized.
Conclusion:
Creating your own wooden bookends is a rewarding and enjoyable project that combines creativity, skill, and personalized expression. By following this guide and incorporating your own ideas, you can craft stunning and unique bookends that become treasured pieces in your home. Enjoy the process of crafting your own personalized décor!
