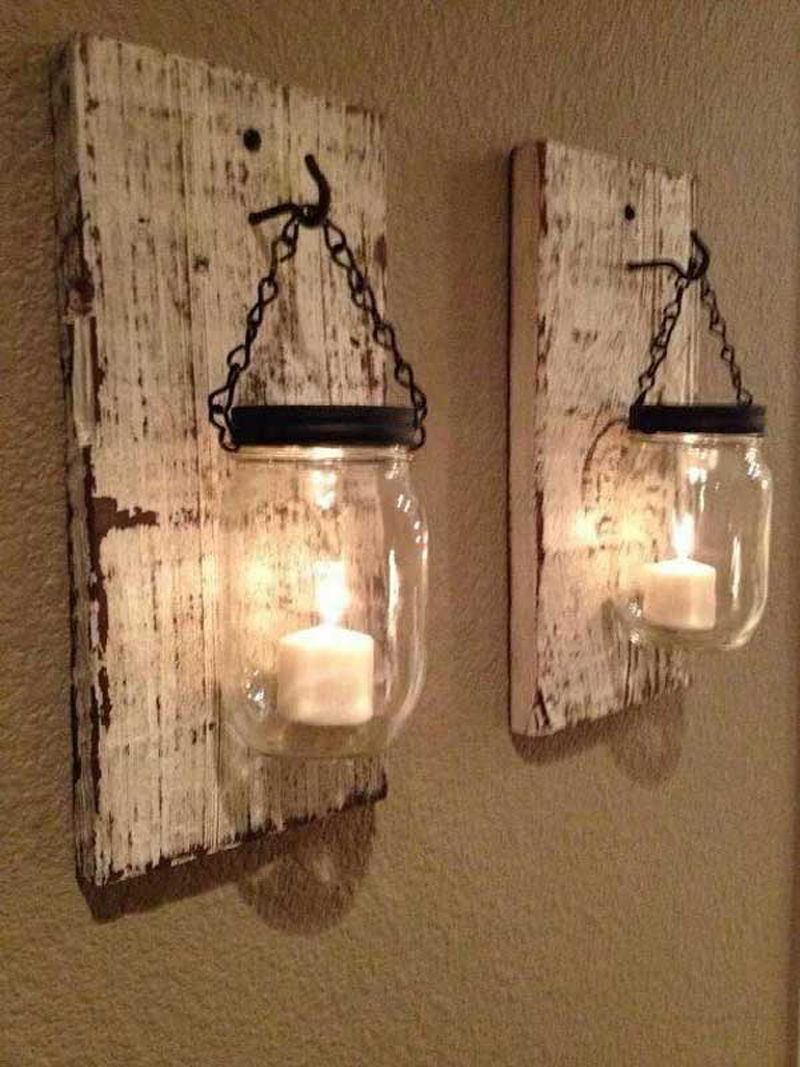

Want to add a touch of warmth and character to your home decor? DIY wooden wall sconces are a fantastic way to personalize your space and create unique lighting solutions. This project is surprisingly easy, even for beginners, and allows for endless creativity with different wood types, shapes, and lighting options.
Here's a step-by-step guide to help you build your own wooden wall sconces:
Materials:
Wood: Choose your preferred type, such as reclaimed wood, plywood, or pine. The thickness should be at least 1/2 inch.
Lighting Fixture: You can use an existing fixture, or purchase a new one from a hardware store. Consider the size and style of your sconce.
Hardware: Screws, nuts, washers, wire connectors, and wire strippers.
Paint or Stain: Choose a color or finish that complements your decor.
Sandpaper: To smooth out the wood and prepare it for finishing.
Measuring Tape and Pencil: For marking and cutting.
Saw: For cutting the wood.
Drill: For drilling holes for the fixture and wires.
Safety Glasses and Gloves: For safety during the construction process.
Instructions:
1. Design and Cut: Sketch out your sconce design on paper. Consider the shape, size, and any decorative elements you want to incorporate. Cut the wood to your desired dimensions using a saw.
2. Sand and Finish: Smooth the edges of your wooden pieces with sandpaper. If using reclaimed wood, be sure to sand it thoroughly. Then, apply your chosen paint or stain. Allow it to dry completely.
3. Mount the Fixture: Decide on the placement of the light fixture. Mark the location and drill a hole for the mounting screws. Attach the fixture to the wood.
4. Wire the Fixture: Carefully disconnect the power to the area you are working in. Follow the instructions provided with the light fixture for wiring. Use wire connectors to join the wires securely.
5. Mount the Sconce: Drill pilot holes for the mounting screws into the wall. Attach the sconce to the wall using the screws. Make sure the sconce is level before tightening the screws.
6. Connect Power: Reconnect the power and test the lighting.
7. Finishing Touches: You can add decorative elements to personalize your sconces, such as metal accents, glass panels, or etched designs.
Tips and Ideas:
Reclaimed wood: Adds character and sustainability to your project.
Geometric shapes: Create a modern look with triangles, squares, or circles.
Rustic finish: Sand down the edges for a weathered look.
Metal accents: Incorporate metal brackets or hooks for a unique touch.
Multiple lights: Use a string of lights or multiple light bulbs for added warmth and ambiance.
Add a switch: Make it easy to turn your sconce on and off with a wall-mounted switch.
Safety Considerations:
Always disconnect the power before working with electrical components.
Wear safety glasses and gloves during the construction process.
Use appropriate tools and techniques for your skill level.
Ensure the wiring is secure and meets local electrical codes.
With a little creativity and effort, you can create beautiful and functional DIY wooden wall sconces that will add warmth and personality to your home. Enjoy the process and personalize your sconces to reflect your unique style!
