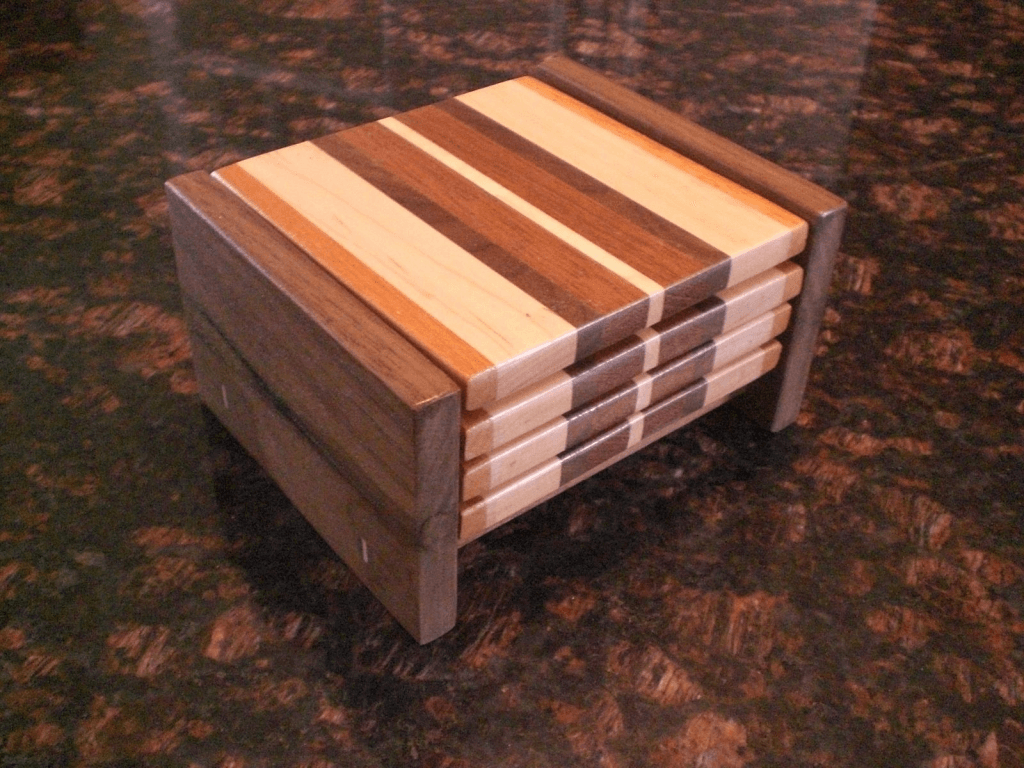

Introduction:
Tired of unsightly water rings on your beautiful furniture? Spruce up your home decor and protect your surfaces with stylish, personalized DIY wooden coasters! This project is easy, fun, and allows you to unleash your creativity.
Materials:
Wood: Choose your preferred wood type.
Softwoods (Pine, Fir): Budget-friendly, lightweight, but prone to scratches.
Hardwoods (Maple, Oak): Durable, beautiful grain patterns, but more expensive.
Plywood: Affordable, stable, good for beginners.
Cutting tools:
Jigsaw/Circular Saw: Cutting out the coaster shapes.
Sandpaper: Smooth the edges and surfaces (various grits for progressively finer finishes).
Finishing Supplies:
Wood stain (optional): Enhances the wood's natural beauty.
Wood sealer: Protects the wood from water damage and stains.
Polyurethane: Durable, water-resistant coating for added protection.
Decorative elements (optional):
Stencils: Create intricate designs.
Paint: Add vibrant colors.
Decoupage medium: Attach fabric, paper, or other materials.
Cork tiles or felt pads: Prevent scratching and sliding.
Glue: Secure cork/felt pads to the coaster base.
Instructions:
1. Cut the coaster shapes: Measure and mark your wood to create your desired coaster size and shape (square, round, etc.). Use a jigsaw or circular saw to carefully cut the shapes.
2. Sand the edges and surfaces: Start with coarser grit sandpaper (80-120 grit) to remove any rough edges and gradually progress to finer grits (220-400 grit) for a smooth finish.
3. Apply stain (optional): Apply a wood stain to enhance the natural color and grain patterns. Follow the stain's instructions for application and drying time.
4. Apply sealant or polyurethane: Seal the wood with a wood sealer or polyurethane to protect it from spills and moisture. Again, follow the product's instructions.
5. Decorate (optional): Use stencils and paint, decoupage techniques, or other creative methods to personalize your coasters. Let the decorative elements dry completely.
6. Attach cork or felt pads: Cut cork tiles or felt pads to the size of your coasters. Apply glue to the bottom of the coasters and carefully attach the pads. Allow the glue to dry completely.
Tips and Tricks:
Use a template: Create a cardboard template for consistent shapes.
Use a sanding block: For a smoother finish, use a sanding block to apply even pressure.
Work in a well-ventilated area: Wear a mask and work in a well-ventilated area when using stains, sealants, and paints.
Experiment with different finishes: Try various stains, paints, and decorative techniques to personalize your coasters.
Create a coaster set: Make a set of different shapes, colors, or designs for a cohesive look.
Enjoy your beautiful, personalized DIY wooden coasters! These unique pieces will not only protect your surfaces but also add a touch of warmth and personality to your home decor.
