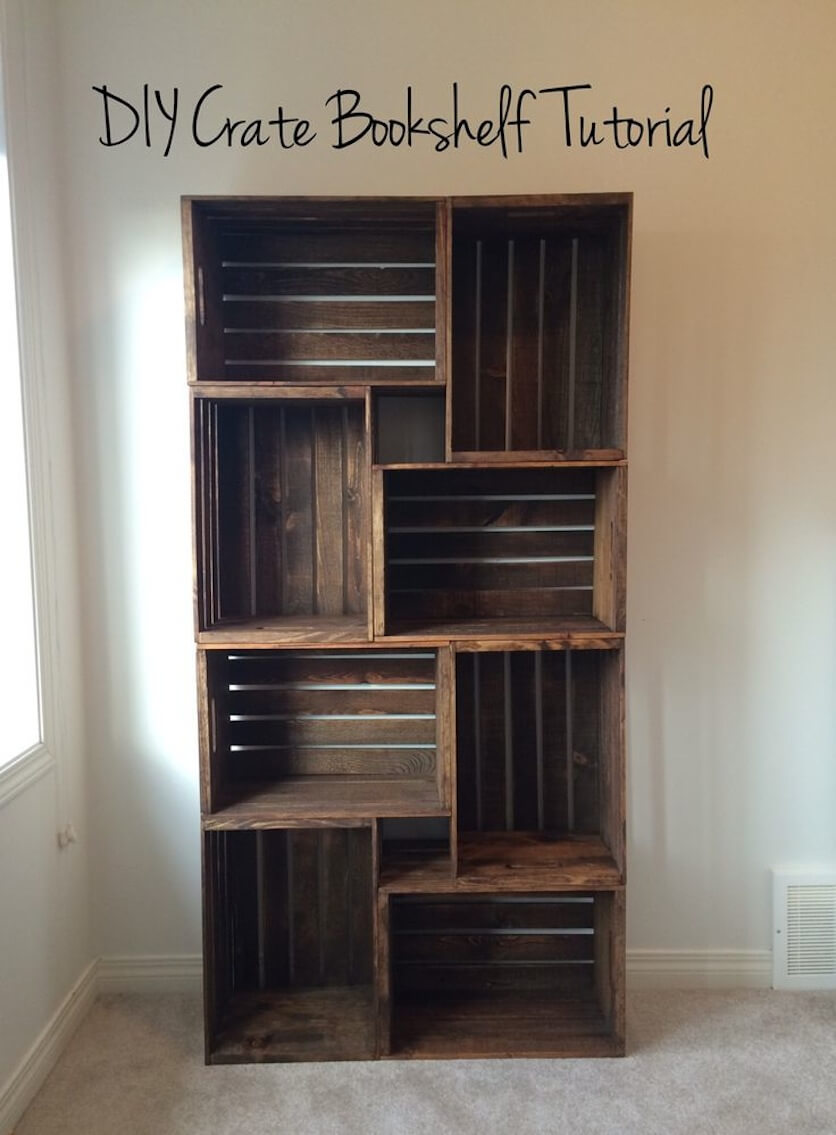

Looking for a unique and stylish way to add storage and character to your home? Building a DIY wooden crate shelf is the perfect solution! This project is easy, affordable, and allows you to personalize your creation with different crate styles, wood finishes, and decorative touches.
Materials You'll Need:
Wooden crates: Choose crates in different sizes and styles to create visual interest. You can find them at flea markets, antique shops, or even repurpose old crates.
Wood board: This will form the base of your shelf. Choose a length and width to accommodate your crates and desired shelf size.
Wood screws: Use screws long enough to securely attach the crates to the base board.
Wood glue: Optional, but recommended for added stability.
Wood stain or paint: Personalize your shelf with your favorite colors and finishes.
Sandpaper: Smooth out rough edges and prepare the wood for staining or painting.
Level: Ensure your shelf is level for a professional look.
Measuring tape: For precise measurements.
Drill: For drilling pilot holes before attaching the crates.
Screwdriver: For attaching the crates.
Step-by-Step Instructions:
1. Gather your materials and prep your workspace: Clean and prepare your crates by removing any dirt or debris. Sand any rough edges for a smooth finish. If you're using reclaimed crates, check for any loose boards or screws that need to be tightened.
2. Choose the arrangement and layout of your crates: Experiment with different combinations of crates to create a visually appealing design. Make sure the base board is long and wide enough to support the crates.
3. Measure and mark the positions of the crates on the base board: Use a measuring tape and pencil to mark the exact placement of each crate. Ensure that the crates are evenly spaced and aligned.
4. Drill pilot holes: This prevents the wood from splitting when you screw the crates to the base. Drill pilot holes in the bottom of each crate at the marked positions.
5. Attach the crates to the base board: Apply wood glue to the bottom of each crate, then carefully attach the crates to the base board using screws.
6. Sand and finish: Once the crates are securely attached, sand the entire shelf to create a smooth surface. Then, apply your chosen wood stain or paint, letting it dry completely between coats.
7. Level and install: Use a level to ensure the shelf is straight and secure. You can mount it on a wall using brackets or place it on a shelf unit or table for a free-standing design.
Tips for Customization:
Add brackets or legs: For added stability, consider attaching brackets to the bottom of the shelf or adding legs to create a freestanding unit.
Decorative touches: Use rope, wire, or metal accents to create unique design elements.
Upcycled elements: Incorporate other repurposed materials like metal gears, old keys, or wooden blocks into your shelf design.
Lighting: Add fairy lights or string lights for a warm and inviting ambiance.
Enjoy your rustic and charming DIY wooden crate shelf! This project can be adapted to fit any space and style, offering a practical and decorative solution for organizing your home. Let your creativity shine and have fun with it!
