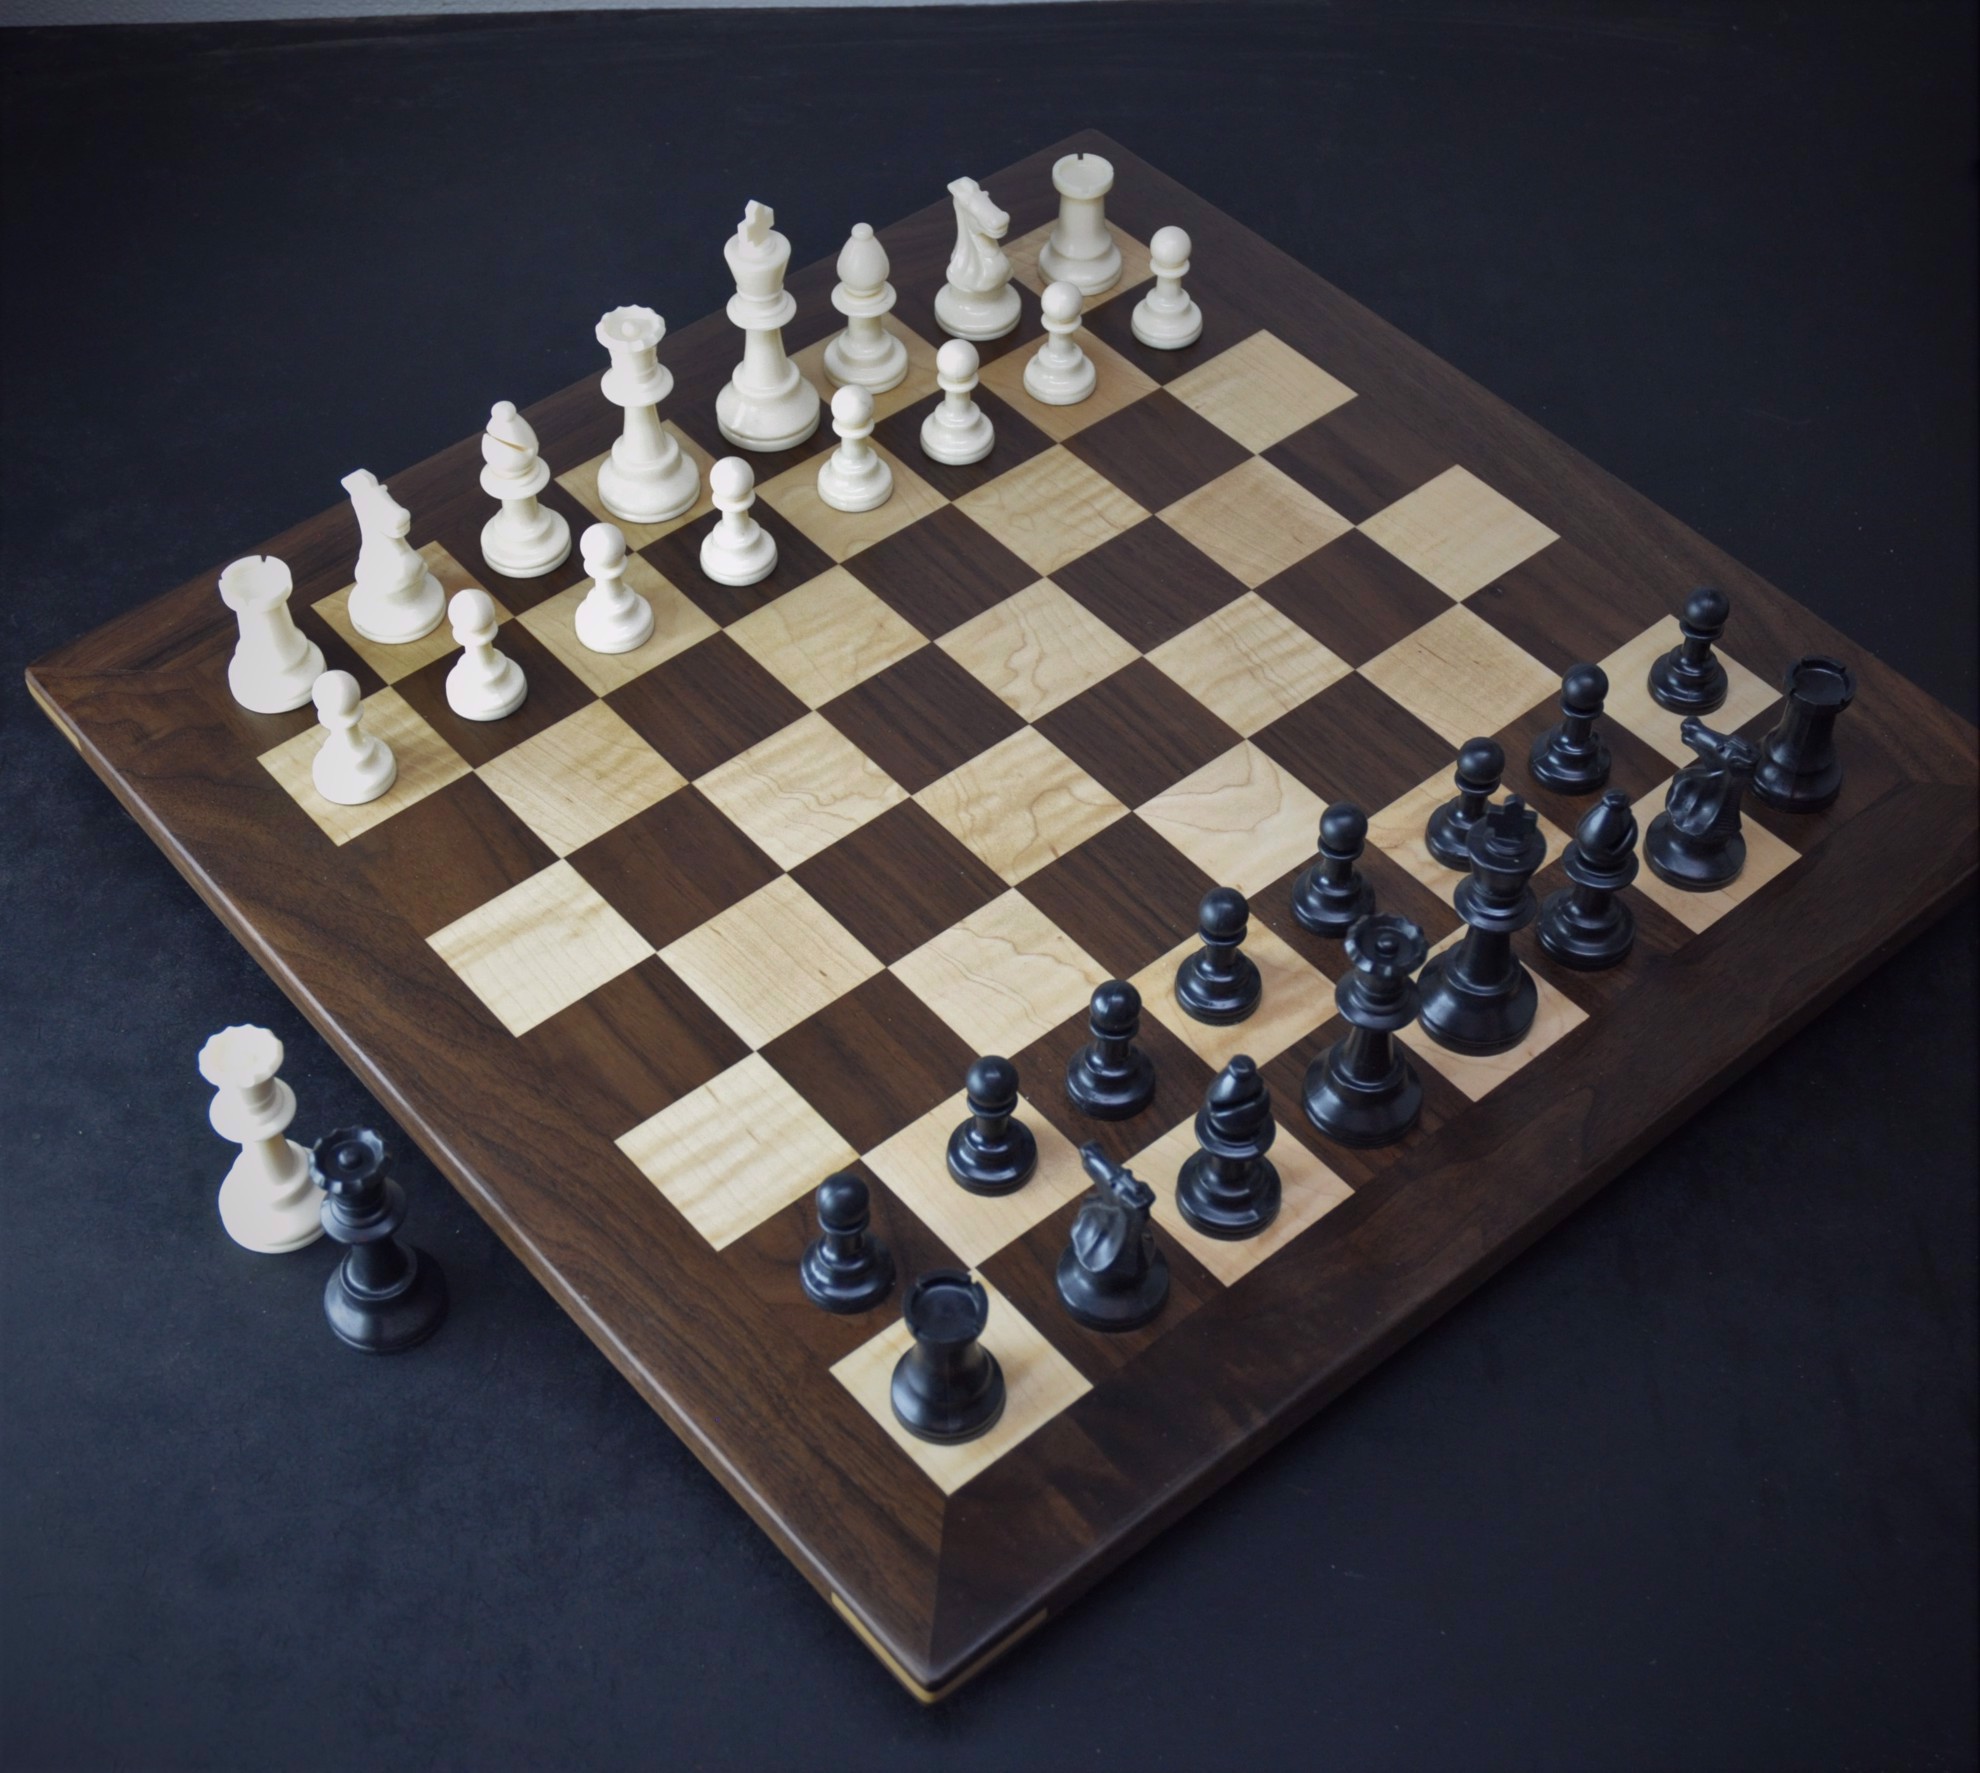

Crafting your own chessboard is a rewarding project that lets you express your personal style while creating a cherished heirloom. Here's a comprehensive guide to help you through the process:
1. Planning and Design:
Board Size: Standard chessboards are 19" x 19", but you can adjust this based on your preference and space.
Wood Choices: Consider the aesthetic and durability of different wood types:
Dark Squares: Ebony, rosewood, wenge, walnut, mahogany.
Light Squares: Maple, ash, cherry, birch, sycamore.
Frame: Hardwoods like oak or walnut for strength and visual appeal.
Style: Choose a design that reflects your taste:
Classic: Simple, elegant design with contrasting wood colors.
Modern: Geometric patterns, contrasting wood grains, or inlay techniques.
Rustic: Reclaimed wood, distressed finishes, or unique grain patterns.
Inlays: Add decorative elements like wood inlays or metal accents.
2. Gathering Materials and Tools:
Wood: Purchase enough wood for the squares, frame, and any inlays.
Power Tools: Table saw, jointer, planer, router (optional).
Hand Tools: Hand saw, chisels, sandpaper, glue, clamps.
Finishing Supplies: Wood filler, stain, varnish, paint (optional).
Chess Pieces: Choose a set that complements your board design.
3. Preparing the Wood:
Cut Squares: Use a table saw to cut the wood into squares for each chessboard square.
Jointing and Planing: Ensure flat surfaces by jointing and planing the squares.
Frame: Cut the frame pieces to size and join them with miter joints or rabbet joints.
4. Assembly:
Laying Out Squares: Arrange the squares in a checkerboard pattern on a flat surface.
Gluing and Clamping: Apply wood glue to the back of each square and press them together, clamping firmly to ensure a tight bond.
Attaching the Frame: Glue the frame to the chessboard, making sure it's flush with the edges of the squares.
Sanding: Sand the entire board smooth, using progressively finer grits.
5. Inlay and Finishing:
Inlay (Optional): If desired, cut out small squares or shapes from contrasting wood to create inlaid designs. Use glue and clamps to secure the inlays.
Filling Gaps: Fill any gaps or imperfections with wood filler.
Sanding: Sand the filled areas smooth.
Finishing: Apply stain, varnish, or paint according to your chosen design. Several coats may be necessary.
6. Adding Finishing Touches:
Distressing (Optional): Add a rustic look by distressing the board with sandpaper, steel wool, or a wire brush.
Sealant: Apply a sealant to protect the finish and enhance durability.
Chess Pieces: Choose a set of chess pieces that complements your board and add a touch of elegance.
Tips for Success:
Plan carefully: Consider the design, wood choices, and finishing techniques beforehand.
Precise measurements: Accurate measurements are crucial for a well-proportioned board.
Cleanliness: Keep your workspace clean to prevent dust and debris from affecting the finish.
Patience: Take your time and enjoy the process.
Practice: Start with smaller projects before attempting a full-size chessboard.
With careful planning, attention to detail, and a bit of creativity, you can craft a beautiful and unique wooden chessboard that will be cherished for years to come.
